Configuring your Linux Infrastructure for SNMP Monitoring with Ansible

This post will run through a simple one-off Ansible playbook of mine that I use to install and configure SNMP on newly-provisioned CentOS servers.
Installing and configuring the SNMP daemon
Net-SNMP is an open-source software suite for Linux that handles the client-side SNMP agent, as well as providing a list of utilities for working with SNMP.
We will use Ansible's generic package module to install the packages:
- name: Install SNMP Packages
    package:
      name:
        - net-snmp
        - net-snmp-utils
      state: present
      lock_timeout: 180
    become: true
Because we will be sticking with SNMP v2c, all that we need to change in the daemon config file is the community. We can use Ansible's lineinfile module to make this change:
  - name: Configure SNMP v2c Community
    lineinfile:
      path: /etc/snmp/snmpd.conf
      regexp: 'com2sec notConfigUser  default       public'
      line: 'com2sec notConfigUser  default       <COMMUNITY>'
      backrefs: true
    become: true
Finally, we can start the service using the service module:
  - name: Start SNMP Service
    service:
      name: snmpd
      state: started
      enabled: yes
    become: true
Isn't Ansible just so wonderfully simple?
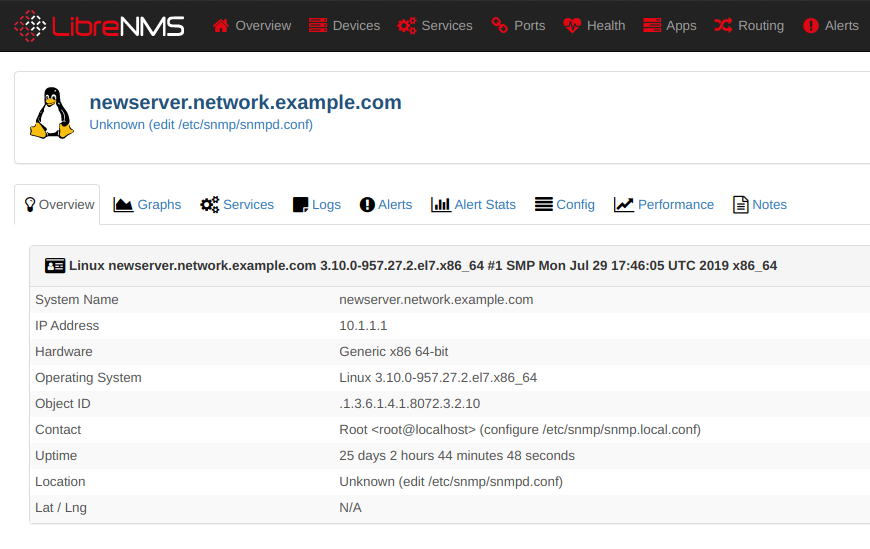
Adding the host to our SNMP NMS
Now that the target host(s) have been setup for SNMP monitoring, we can go ahead and begin polling from our NMS. We use LibreNMS as our primary NMS for infrastructure monitoring, graphing, alerting and billing, and can vouch that it is simply a fantastic project that deserves all of the praise it can get.
A link to the project's GitHub repo can be found here:
https://github.com/librenms/librenms
Now that you have hopefully installed your phenomenal new monitoring system, you can make use of the well-documented API that it provides. Here we will use Ansible's uri module to dynamically POST the newly provisioned server's hostname to LibreNMS to begin polling on our configured SNMP v2c community:
  - name: Add Device to local LibreNMS server
    uri:
      url: https://10.1.1.1/api/v0/devices
      method: POST
      headers:
        X-Auth-Token: <TOKEN>
      body:
        hostname: '{{ inventory_hostname }}'
        version: v2c
        community: <TOKEN>
      body_format: json
      validate_certs: no

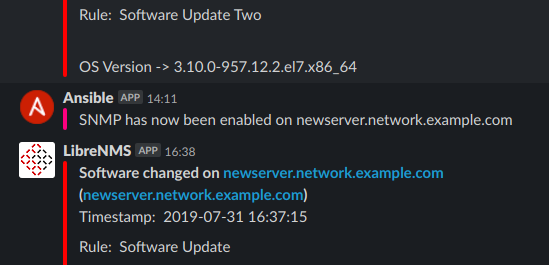
And that's us done! We can send the Team a quick Slack message in our favorite shade of Bubbluegum Pink if we so choose:
  - name: Send notification message to Slack
    slack:
      token: <TOKEN>
      msg: 'SNMP has now been enabled on {{ inventory_hostname }}'
      color: '#ff007f'
      channel: '#bots'
      username: 'Ansible'
      parse: 'none'
    delegate_to: localhost

All together, the final playbook will look something like this:
- hosts: newserver.network.example.com
  gather_facts: yes
  become: yes

  tasks:
  - name: Install SNMP Packages
    package:
      name:
        - net-snmp
        - net-snmp-utils
      state: present
      lock_timeout: 180
    become: true

  - name: Configure SNMP v2c Community
    lineinfile:
      path: /etc/snmp/snmpd.conf
      regexp: 'com2sec notConfigUser  default       public'
      line: 'com2sec notConfigUser  default       <COMMUNITY>'
      backrefs: true
    become: true

  - name: Start SNMP Service
    service:
      name: snmpd
      state: started
      enabled: yes
    become: true

  - name: Add Device to local LibreNMS server
    uri:
      url: https://10.1.1.1/api/v0/devices
      method: POST
      headers:
        X-Auth-Token: <TOKEN>
      body:
        hostname: '{{ inventory_hostname }}'
        version: v2c
        community: <TOKEN>
      body_format: json
      validate_certs: no

  - name: Send notification message to Slack
    slack:
      token: <TOKEN>
      msg: 'SNMP has now been enabled on {{ inventory_hostname }}'
      color: '#ff007f'
      channel: '#bots'
      username: 'Ansible'
      parse: 'none'
    delegate_to: localhost
And there we have it, another one-off playbook to add to the repo.
Thanks for reading!
